Cederberg Trail Tours
Practical, on-the-ground details for the Cederberg’s best-known hikes. Distances and times are listed as typical ranges and can vary with route choice, conditions, and how long you spend exploring.
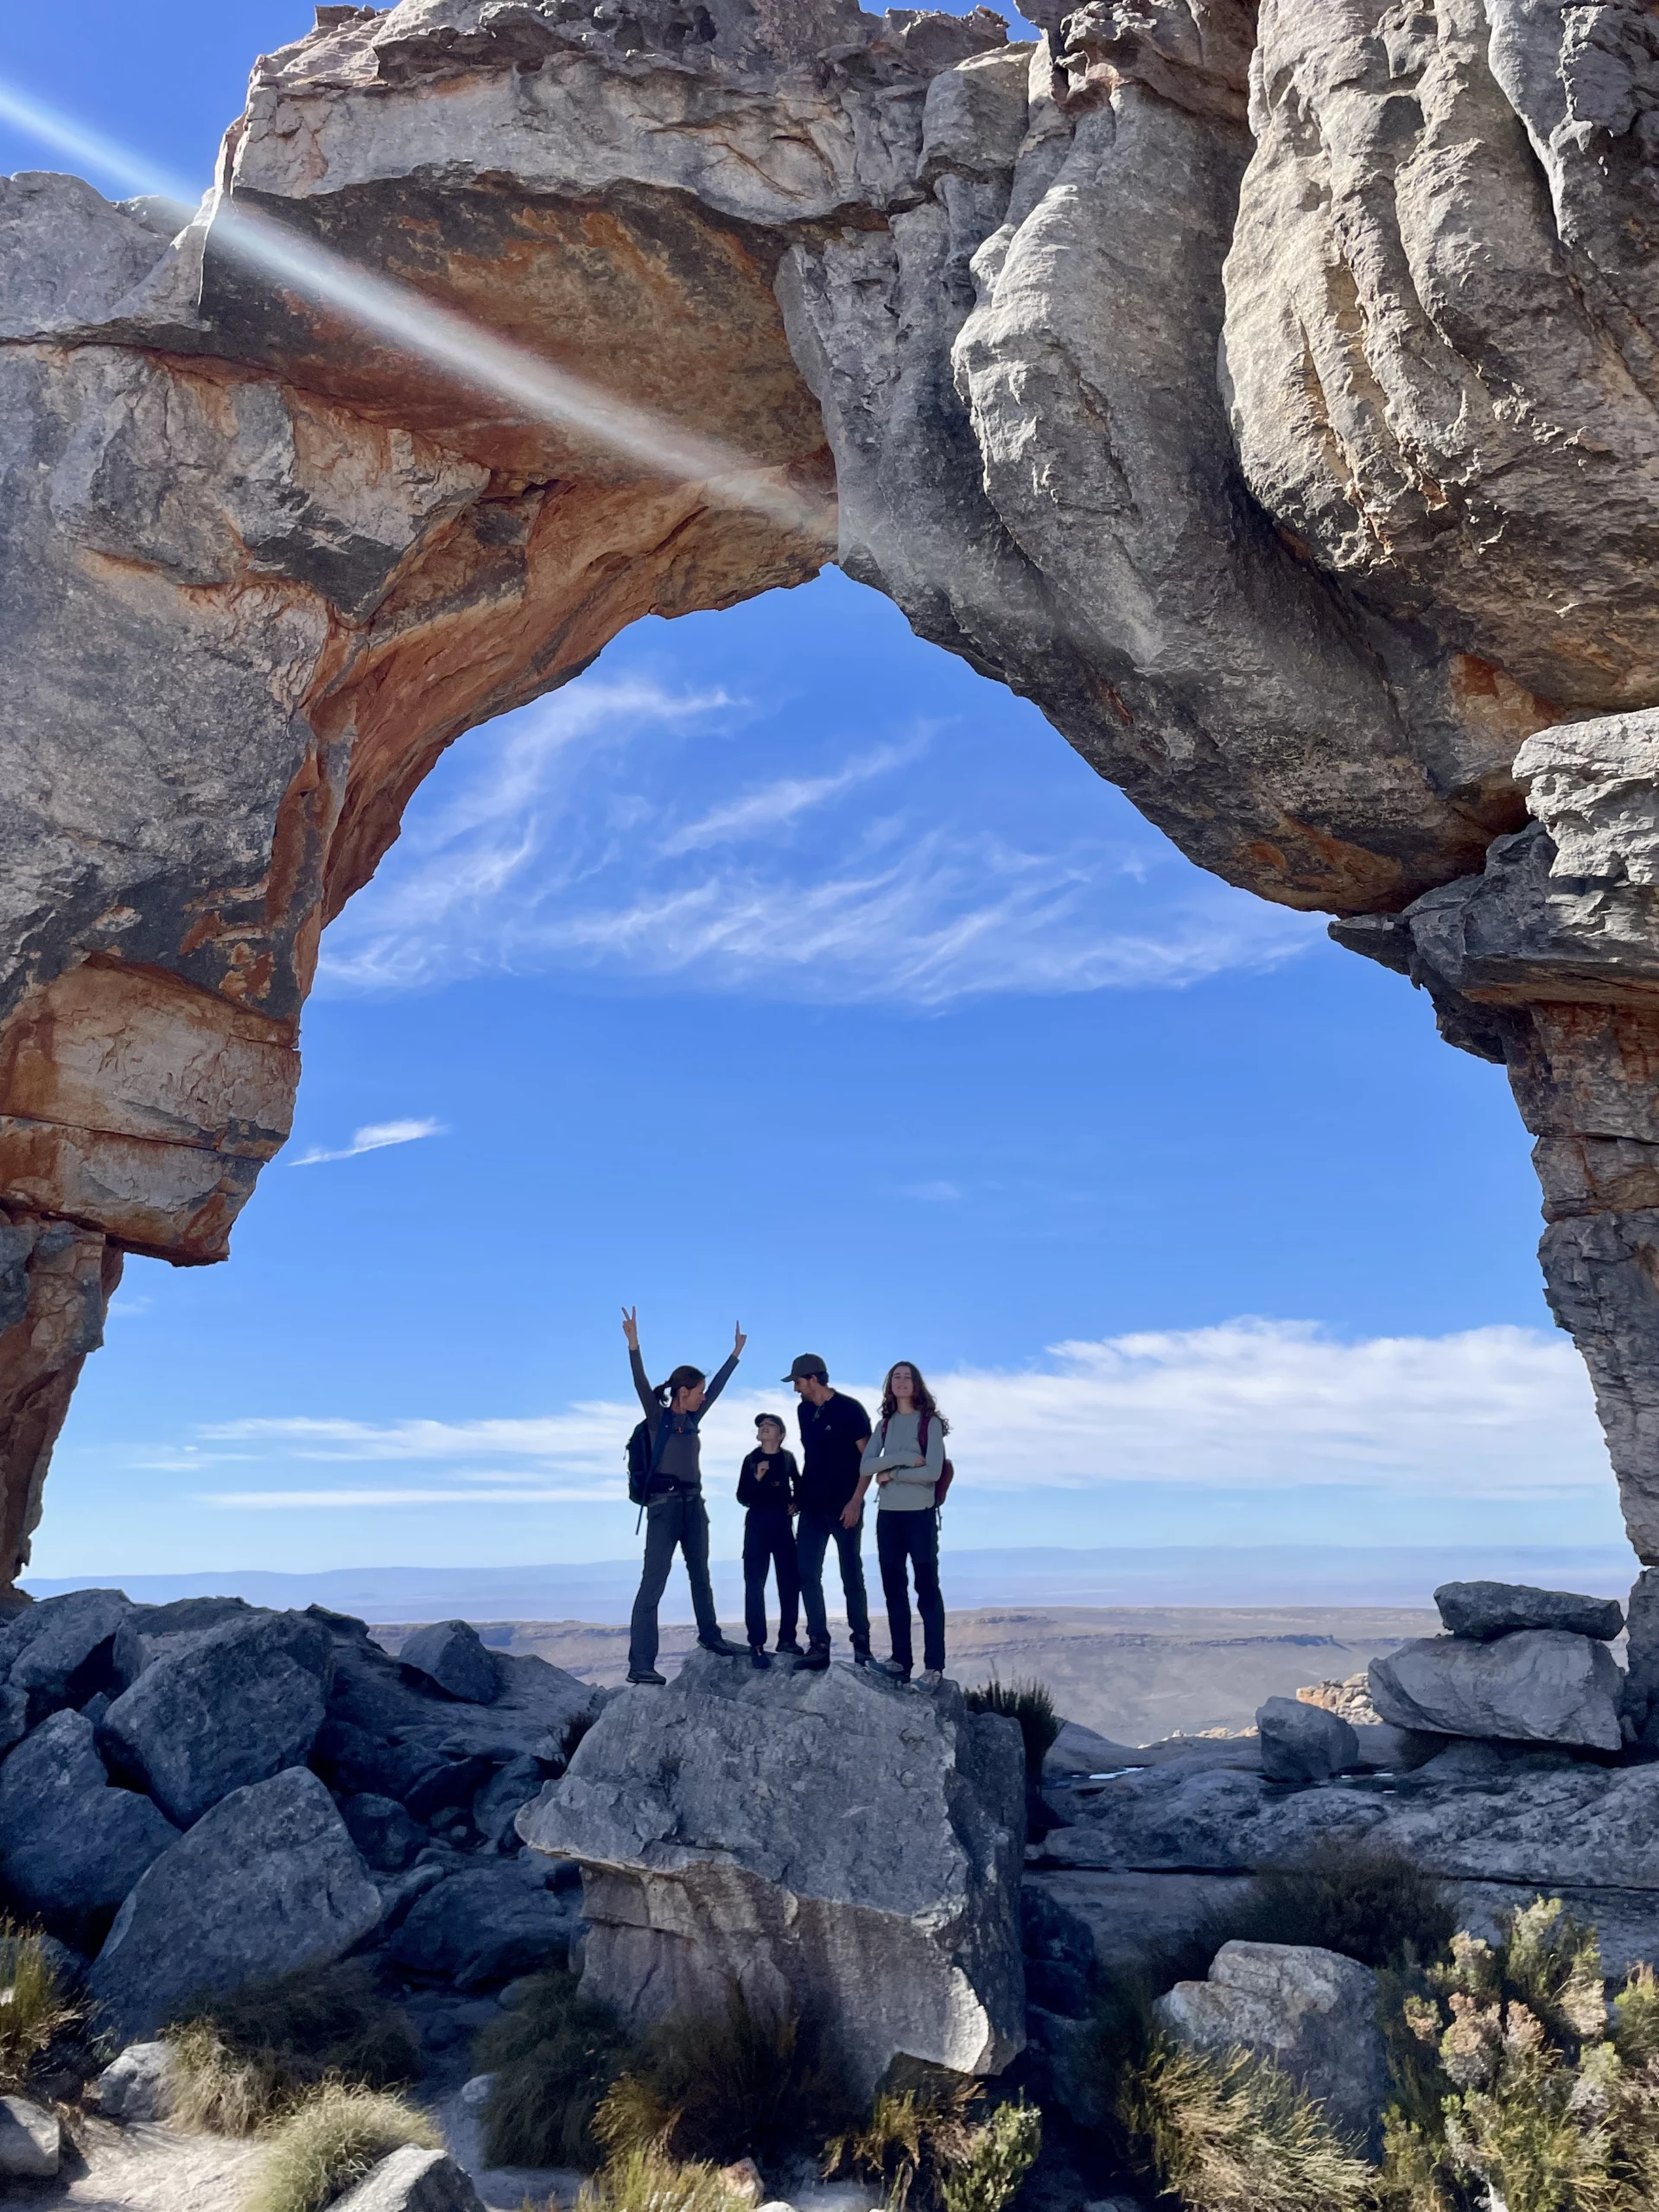
Wolfberg Arch
A full-day wilderness hike to one of the Cederberg’s most iconic sandstone formations. Expect a long, steady ascent, exposed ridgelines, and wide-open viewpoints near the arch.
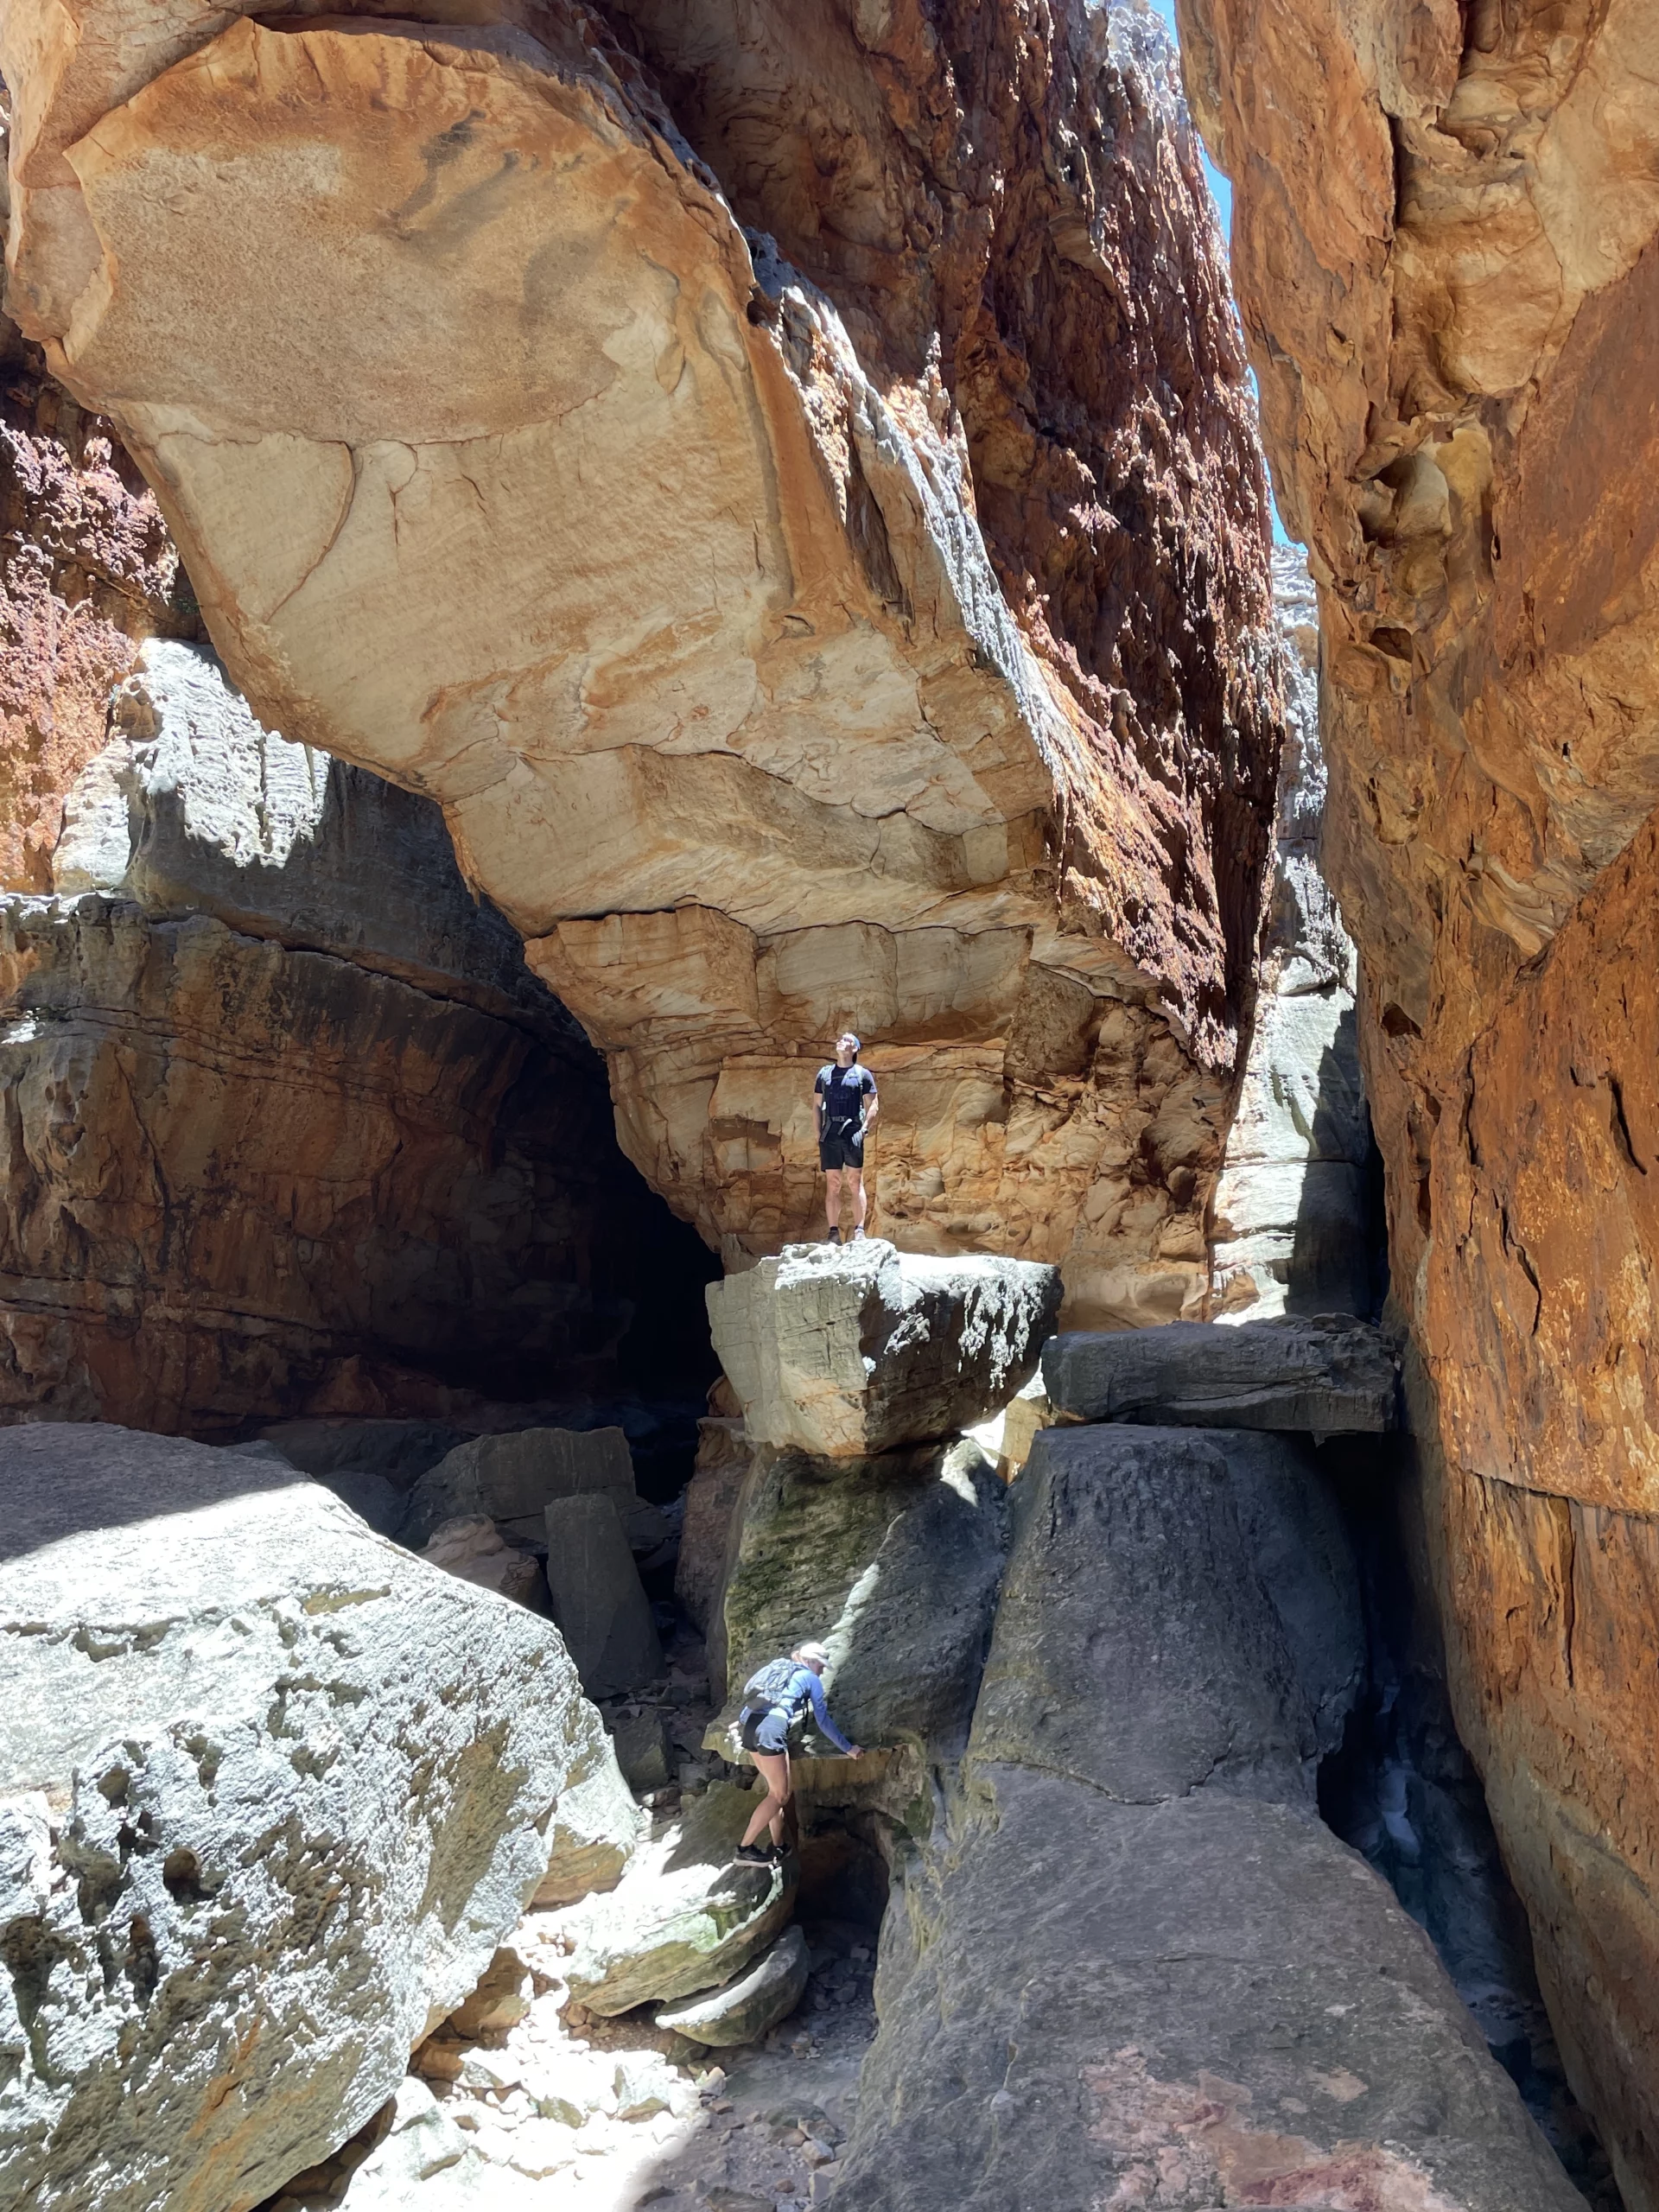
Wolfberg Cracks
A steep approach hike to a network of narrow sandstone corridors (“the cracks”). It’s short on distance, but not on effort—time varies depending on how long you explore inside the passages.
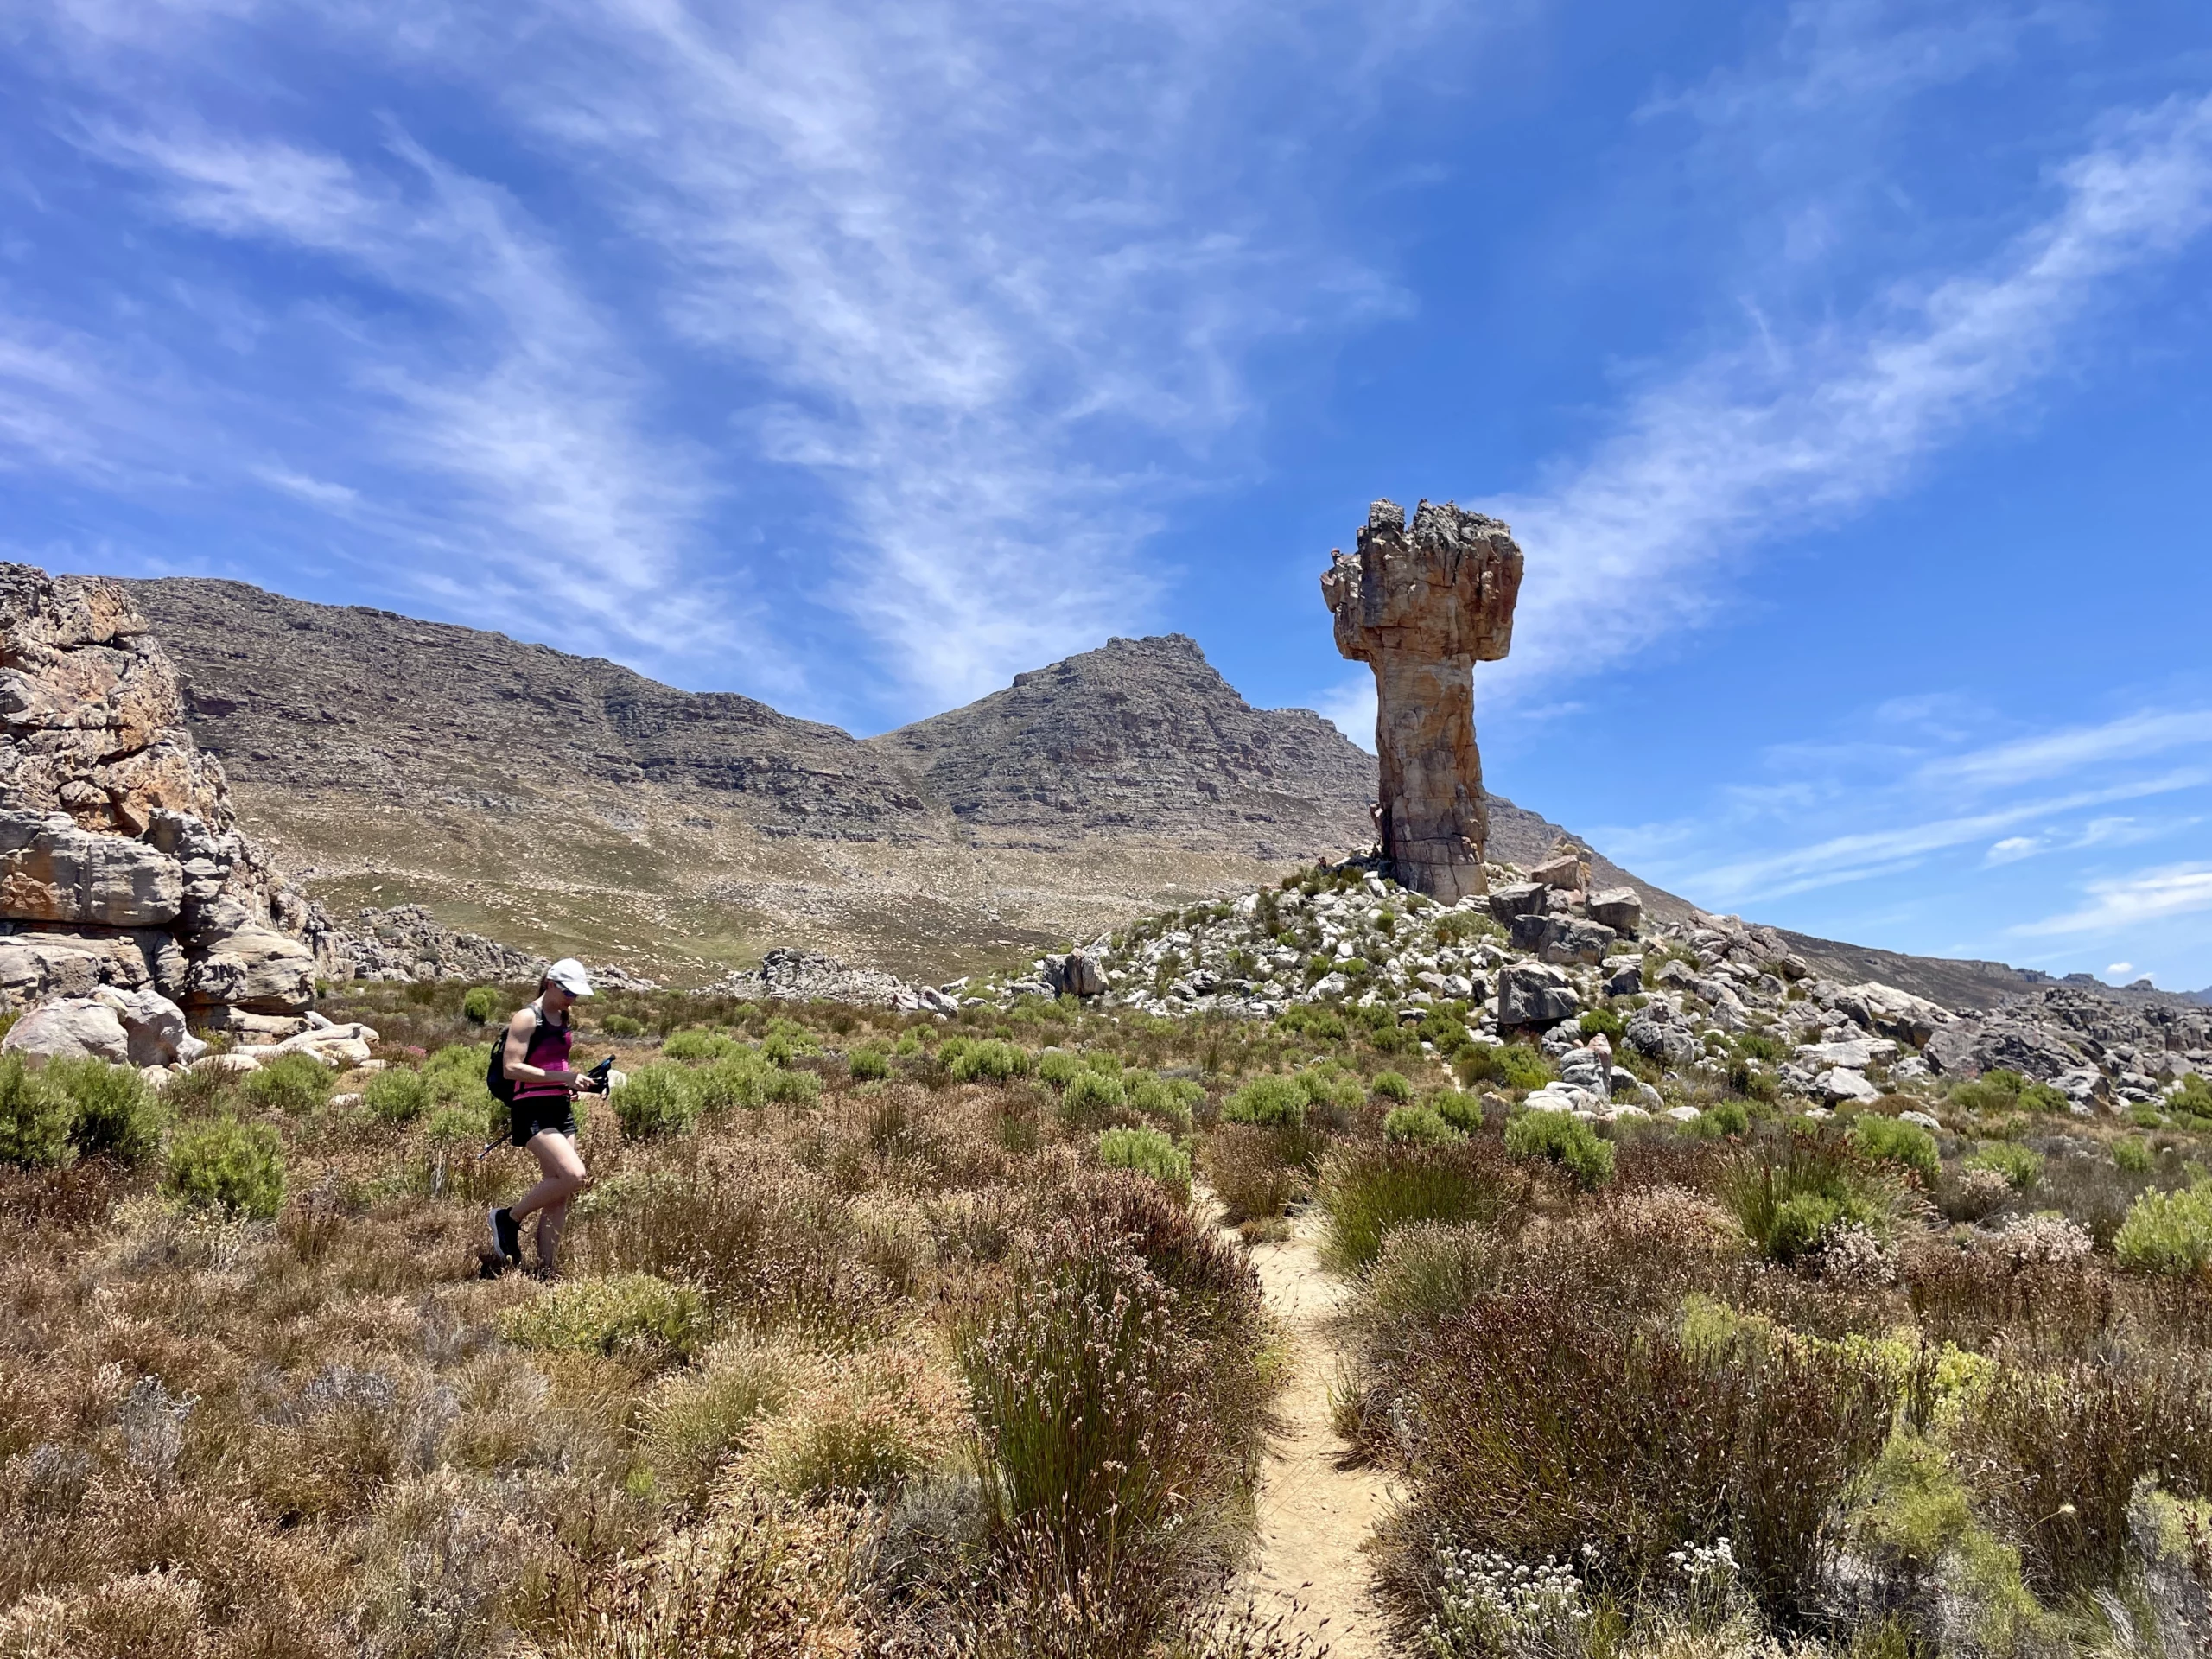
Maltese Cross
A landmark day hike to the Maltese Cross monolith. The route is well-known, generally straightforward, and offers a big visual reward for a moderate outing.
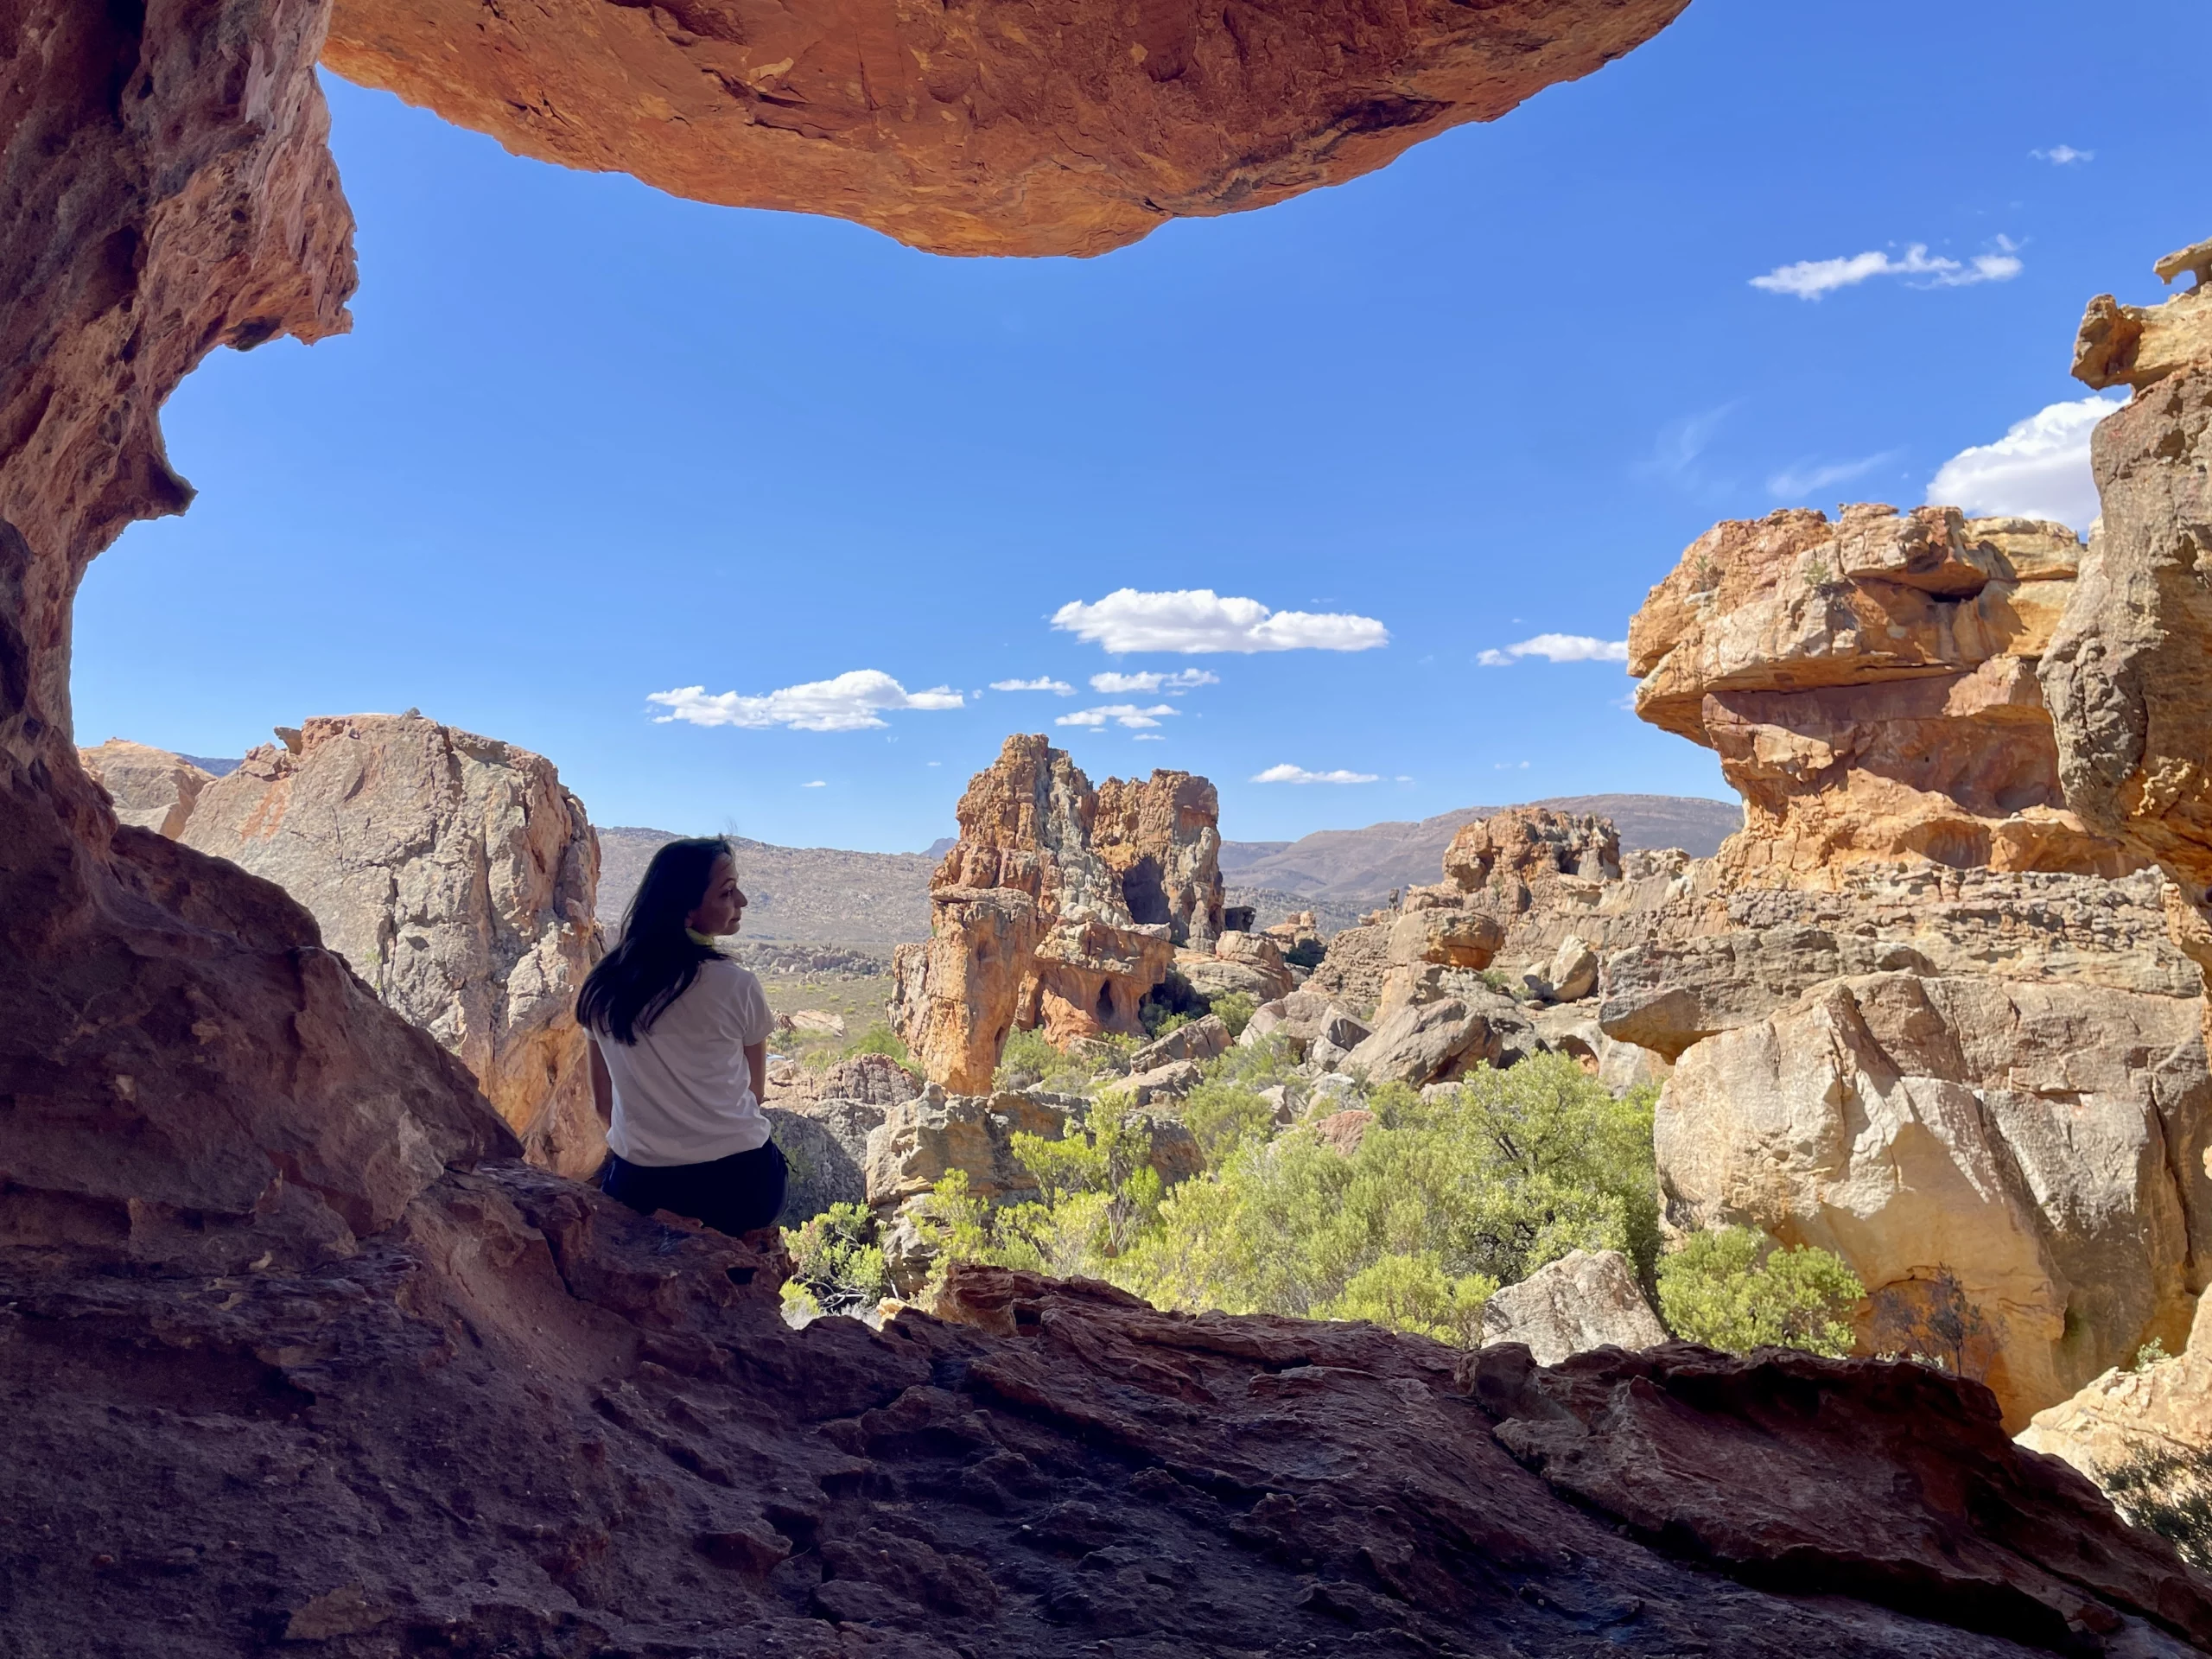
Stadsaal Caves
A short loop walk to striking sandstone overhangs in the Matjiesrivier area. Low effort, high reward—plan extra time for exploring and photos.
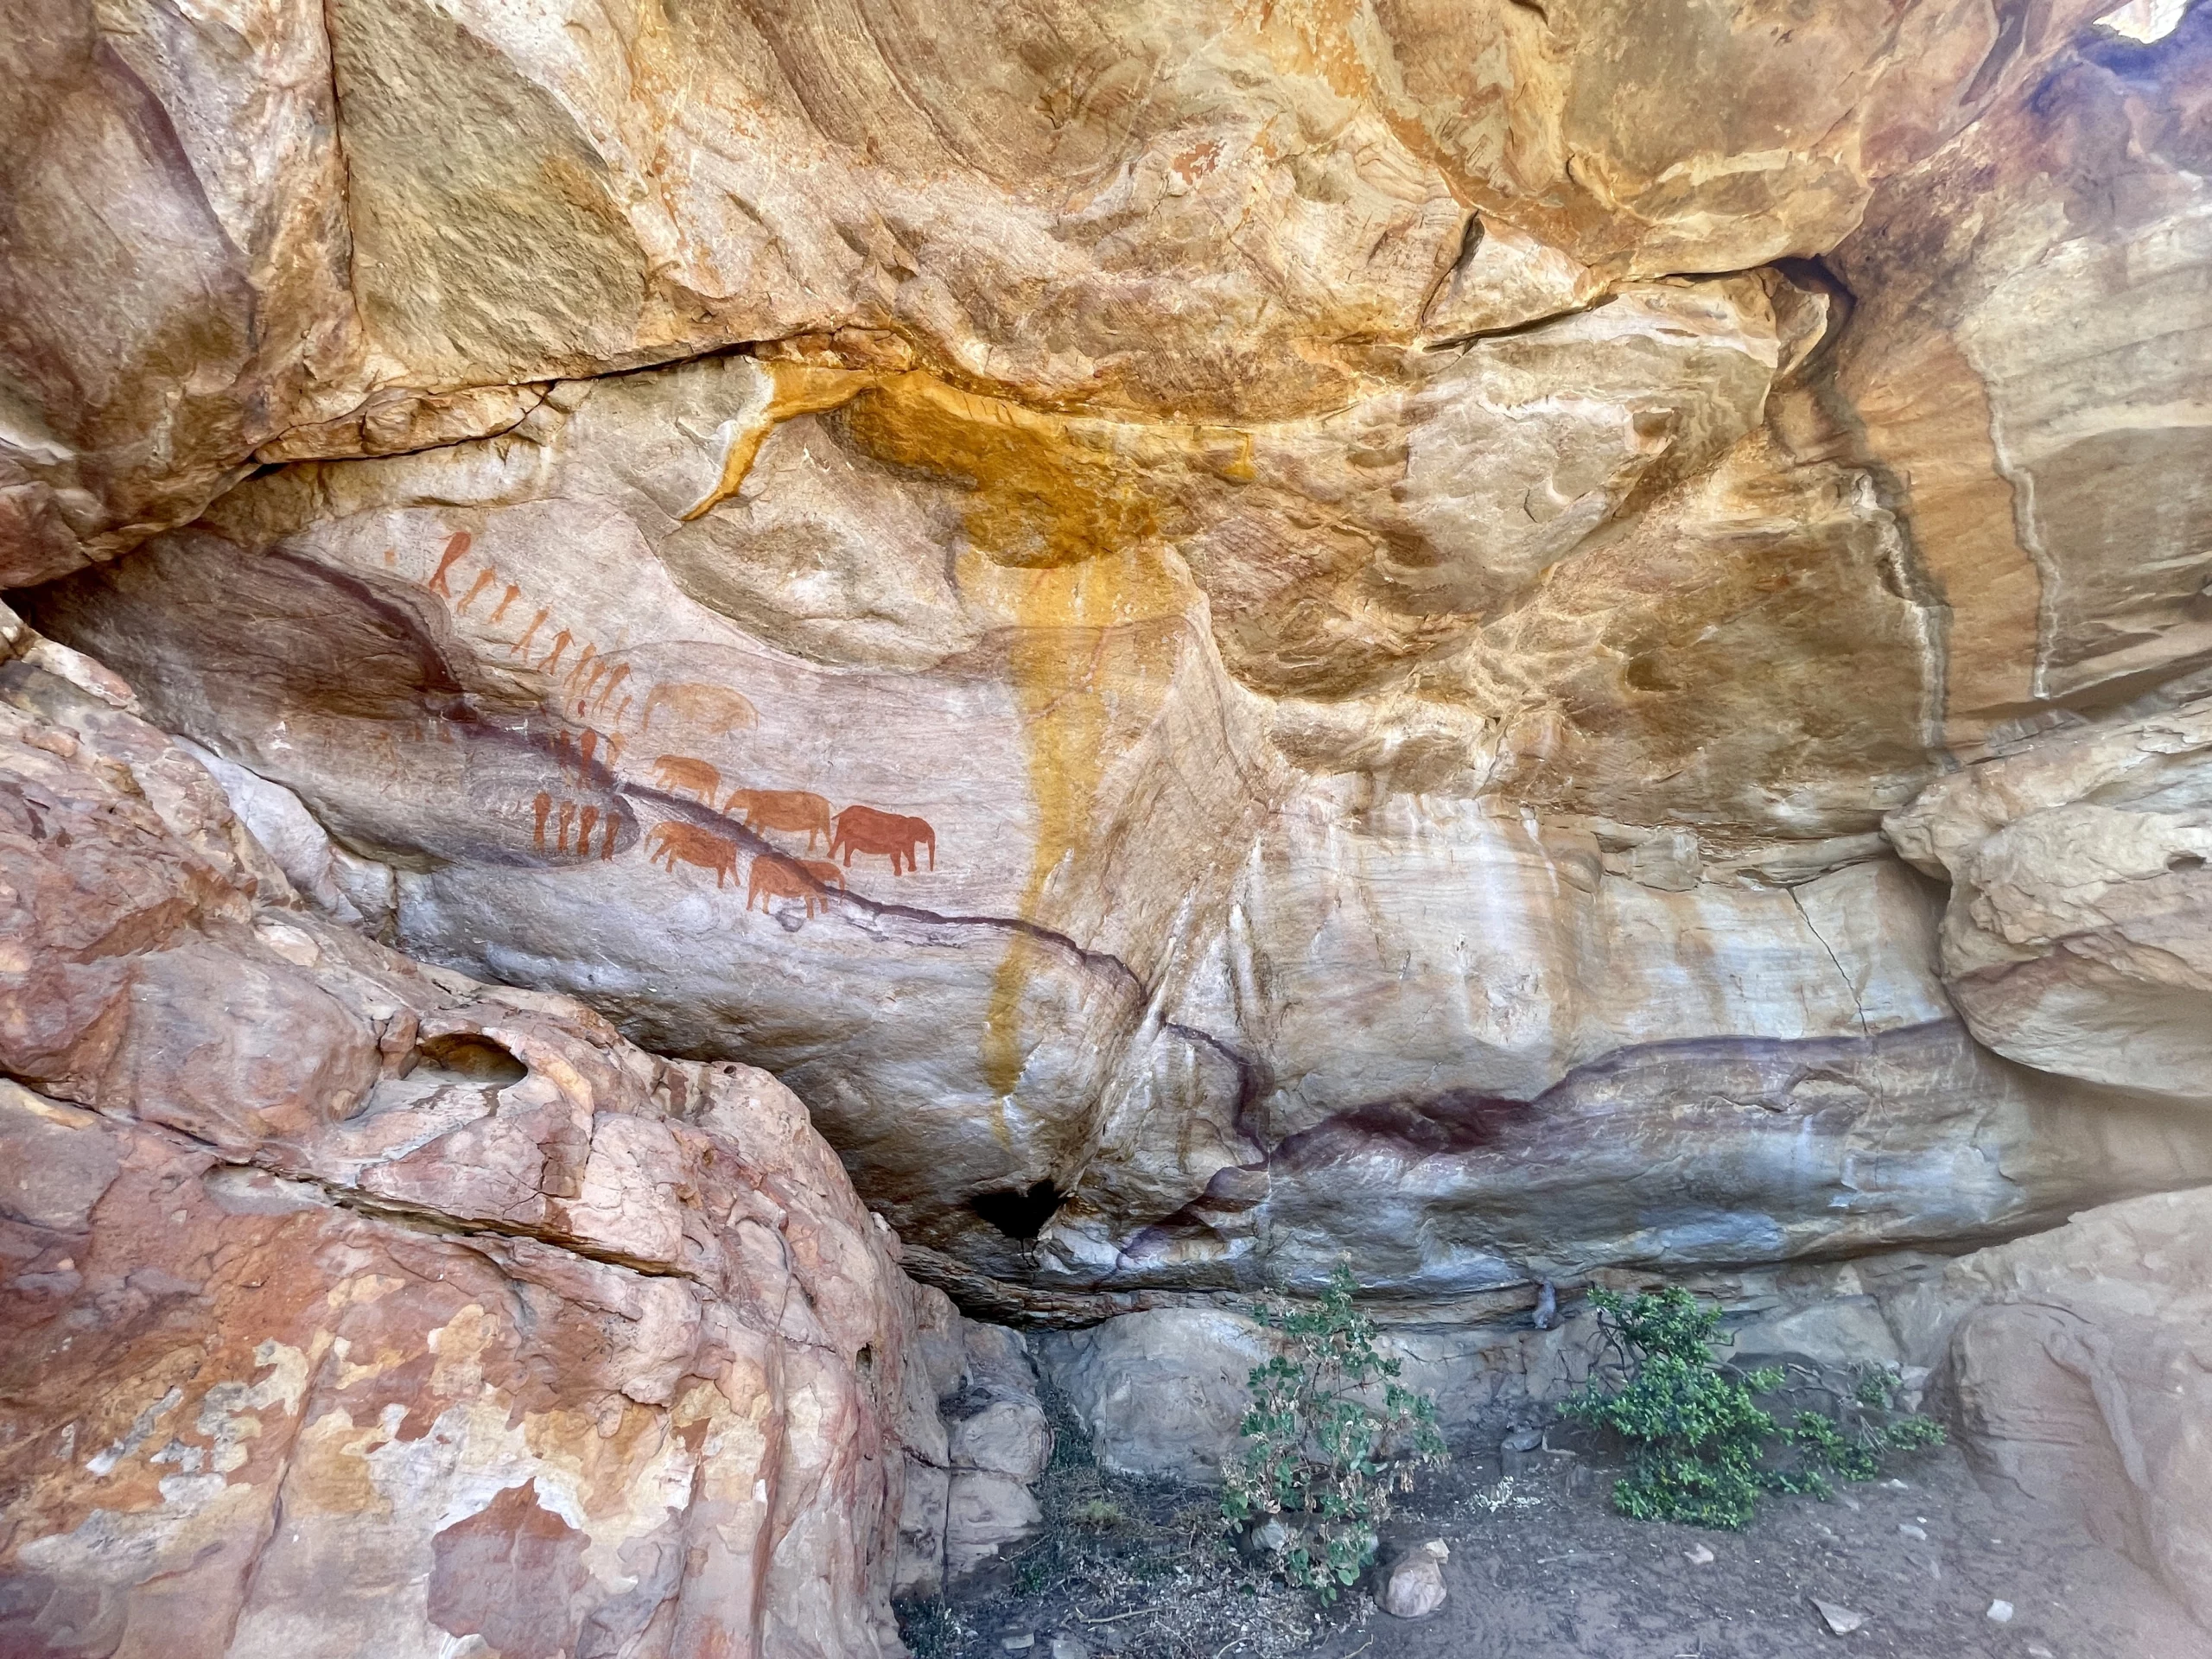
Truitjieskraal Rock Art
An interpretive loop through rock formations with significant San rock art sites. It’s an easy walk, with most of the time spent stopping to view panels and exploring formations respectfully.

Algeria Waterfall Trail
A well-marked hike from the Algeria area up to the Middelberg Waterfall. It’s moderately steep and a popular choice for visitors staying at or near Algeria, especially after winter rains.
Accuracy policy: Where routes vary or sources publish different figures (especially Wolfberg routes and loop/return options), this page uses typical ranges and labels anything that varies. Confirm the exact route and permit point locally before setting off.